
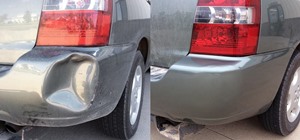
A common problem on bumper covers is that the tabs that attach the bumper to the car get broken. This is critical, as this is what secures and aligns the bumper cover. Many times, a broken tab is all that is wrong with the bumper cover. With the cost of these plastic parts $200 to $700, the replacement cost can break the bank.
In this tutorial you are going to learn a few simple steps to repair a broken tab to as good as new at a fraction of the cost.
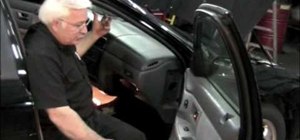
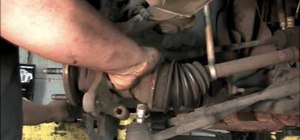
Depending on location of the tab, the bumper may need to be removed. However, many times this repair can be made with the bumper cover still attached to the car.
Step 1: Wash with Soap and Water
Start the repairs with a good wash to remove contaminates on the bumper cover. This will assure all silicones are removed which will provide a quality repair.
Step 2: Grind Tab
Where the tab broke, use a 50 grit roloc disc to grind the repair area to a point. This will provide the correct shape to maximize adhesion. When grinding plastic, use a slow RPM.
Step 3: Sand Tab
Using 80 grit by hand or 80 grit on a dual action sander, sand the repair area to assure all areas the adhesive will come in contact with is sanded. Do not apply adhesive on an un-sanded surface.
Step 4: Drill Holes
Drill holes on repair location using a 1/8 inch drill bit. This will allow the adhesive to flow from one side of the repair to the other side providing a rivet like effect.
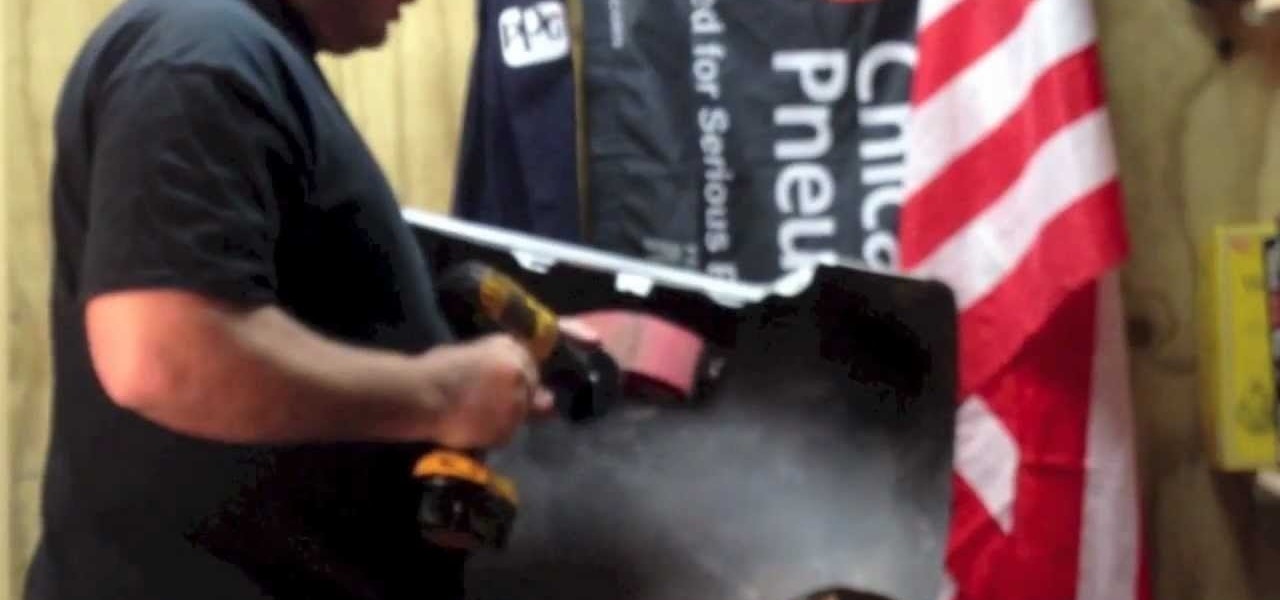
Step 5: Clean Repair Area
Using compressed air, blow the repair area clean. Do not use any type of solvent cleaner, as this can absorb into the plastic, which will cause problems.
Step 6: Adhesion Promoter
Spray a light coat of adhesion promoter to the repair area. This is important so the adhesive adheres to the repair. Allow the adhesion promoter to dry for 5 to 10 minutes.
Step 7: Cut Plastic and Apply Adhesive
Cut a piece of plastic from the package the tab repair adhesive came in to shape the adhesive. Support the bottom of the plastic using a spreader. Apply adhesive to the plastic, then lightly press the adhesive to the backside of the repair. Next, wrap the plastic around the tab location. Make sure the plastic extends past the original length of the plastic tab. Lastly, lightly apply pressure using a spreader on the top of the adhesive to shape the tab. Do not apply too much pressure, as this will build a tab that is too thin. Allow to set-up 30 seconds to one minute. The release pressure on spreaders and allow to finish drying.
Step 8: Precut Tab
After a minute or two, before completely drying, precut the tab a little larger than the tab size. Then allow to finish drying about 5 minutes.
Step 9: Sand Tab
Once the tab is fully hardened (about 5 minutes) remove plastic from around the tab and shape the tab using the 50 grit roloc disc, followed by 80 grit by hand or on a dual action sander.
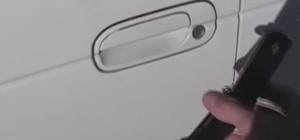
Step 10: Drill Hole
The last step is to drill the hole for the clip or bolt to go through to attach it to the vehicle.
That's It!
You normally will not see the tabs once secured to the vehicle. However, you may choose to repaint the tab before attaching to the vehicle..
Warning!
You only have about 30 seconds work time with this tab repair adhesive. So be sure you have everything you need before applying the adhesive to tab location. Be sure to watch the video for additional information and how to purge the adhesive cartridge before using
Products Used in This Tutorial
50 Grit Roloc Grinder Disc
80 Grit Sandpaper
3M 04747 Super Fast Repair Adhesive
3M 05907 Adhesion Promoter
Just updated your iPhone? You'll find new emoji, enhanced security, podcast transcripts, Apple Cash virtual numbers, and other useful features. There are even new additions hidden within Safari. Find out what's new and changed on your iPhone with the iOS 17.4 update.


2 Comments
thank you sir, very helpful!
thank you so much for that tutorial I was told if the tab broke I would have to replace the whole front bumper thank you so much I now know I could repair this and save some money thank you again
Share Your Thoughts