


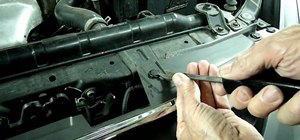
In this next tutorial, you'll find out what tools you'll need to replace the ball joints on a 1999 Ford Explorer. It's a pretty easy to follow, especially if you know anything about cars, so good luck and enjoy!
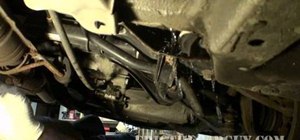
1) Remove wheel and all non essential parts (Brakes Calipers, Rotor, and Move hoses out of the way Ect..)
2) Remove Axle nut
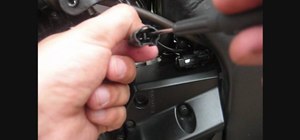
3) Remove lower ball-joint castle nut and upper ball joint retaining bolt
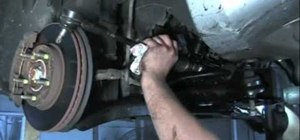
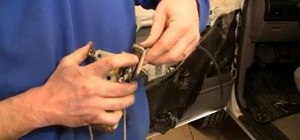
4) Use a ball joint fork to separate upper and lower ball joints
5) Retract the axle out of the steering knuckle and suspend it using a bungee cord out of the way.
6) Move steering knuckle out of the way
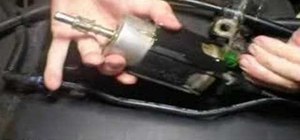
7) Remove lower ball joint cir-clip
8) Pound the lower ball joint back out with a hammer or use a press tool.
9) Remove upper control arm and replace (It houses the upper joint).
10) Use a ball joint press to install the new lower joint and install the new cir-clip.
11) Reinstall the axle.
12) Reinstall steering knuckle and all fittings and hardware that you removed plus the new cotter pin on the lower ball joint castle nut, grease fittings etc..
13) Tighten axle nut.
14) Go over all of your work to make sure you've tightened everything back up and havent forgotten any bolts.
15) Reinstall brake pads rotor caliper and finally the wheel.
16) Lubricate the new joints with a grease gun.
A front end alignment should be performed on the vehicle after any front end work is done!
Just updated your iPhone? You'll find new emoji, enhanced security, podcast transcripts, Apple Cash virtual numbers, and other useful features. There are even new additions hidden within Safari. Find out what's new and changed on your iPhone with the iOS 17.4 update.


2 Comments
Thanks for the video
Great video. You rock.
Share Your Thoughts