Hot Auto Maintenance & Repairs How-Tos

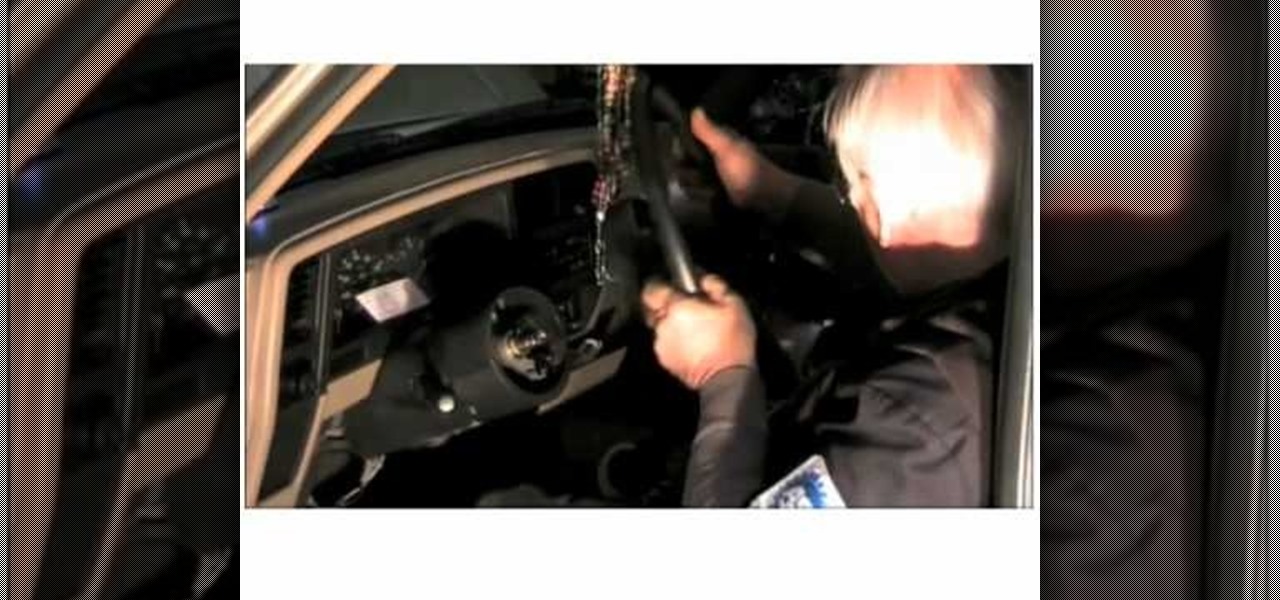
How To: Troubleshoot a horn that's not working in a 1991 Ford Ranger pickup truck
This video will help you diagnose and troubleshoot a non-working horn in a 1991 Ford Ranger pickup truck. First off, the electrical diagram is a great place to start. Make sure the horn switch is getting power from the source. To test this, all you need is power and a ground to test it at the steering wheel. To see what else could be the problem, watch and learn from a professional mechanic.
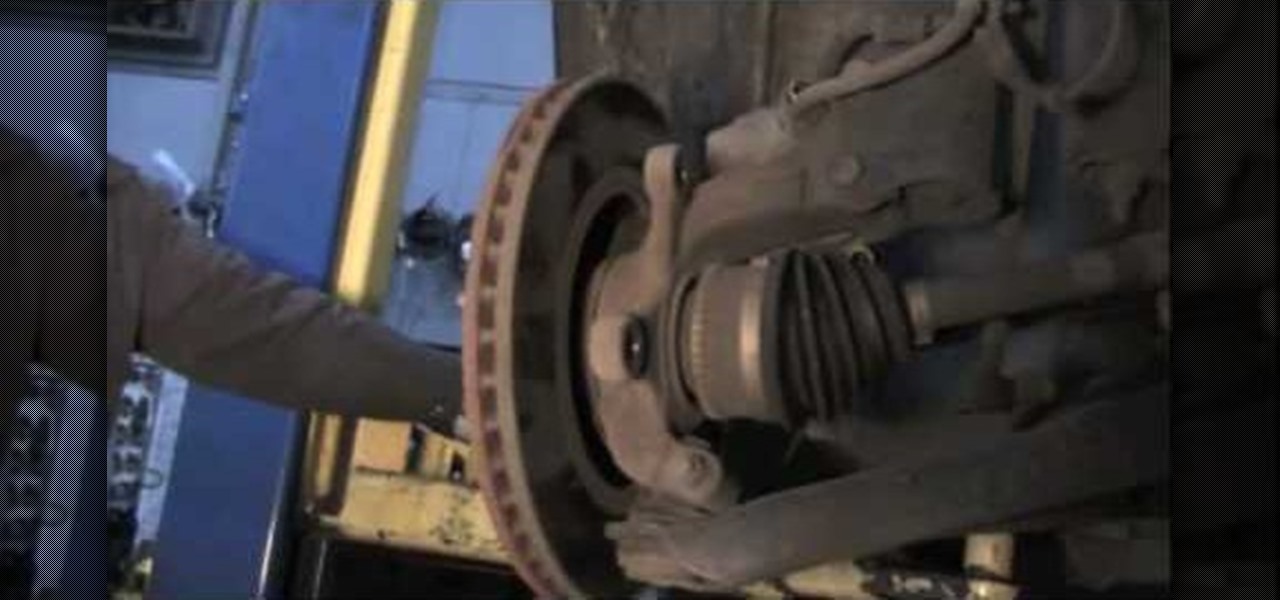
How To: Change front brake pads on a Ford Escape
Don't waste money on pricey mechanics! Doing your own vehicle repairs can save you tons of dough, but just because you're avoiding the mechanics, doesn't mean you can't learn a thing or two from them. In this video, a professional shows you the quick steps to changing out the front brakes on a Ford Escape. After taking of the front wheel, you'll have to deal with the calipers and the brake pads, along with a few other things. But don't worry. Any do-it-yourselfer can change brakes. And the Fo...

How To: Install a Mitsubishi (DSM) end clutch kit for manual transmissions
Want to perk up your manual transmission Mitsubishi? A end clutch kit is the way to go. But most people who try to install an end clutch kit in a Mitsubishi have a hard time. It's not the easiest thing to do… at least until you watch this repair video. It will show you the full steps to installing a Mitsubishi (DSM) end clutch kit.
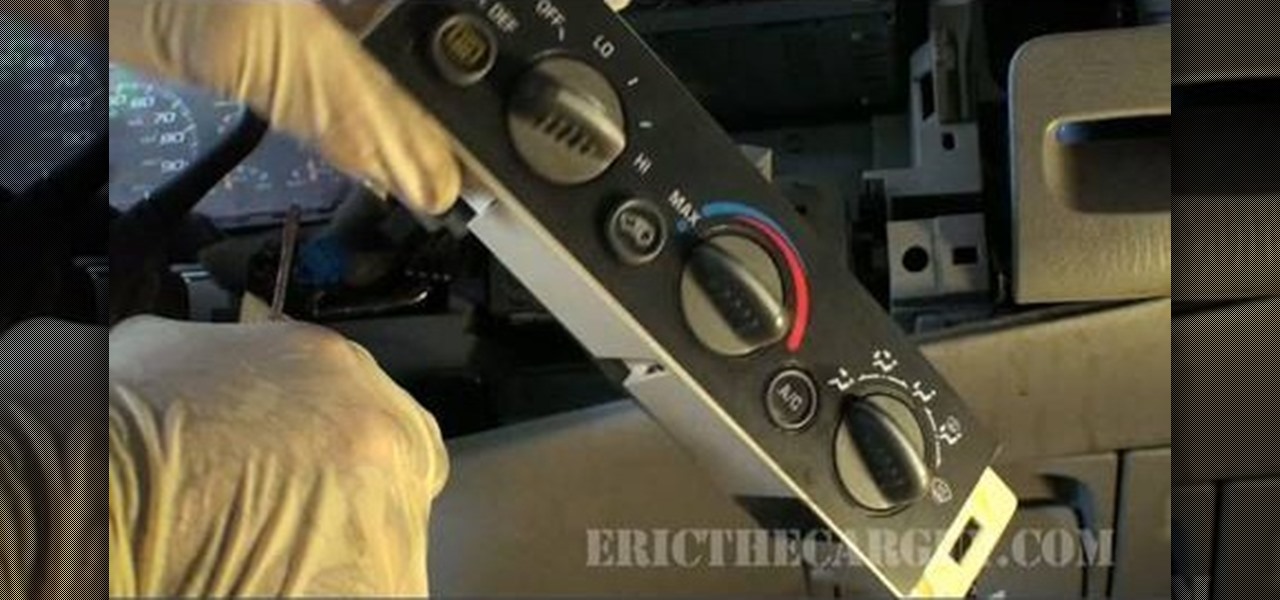
How To: Replace the HVAC head unit on a 1999 Cheverolet Tahoe
Eric The Car Guy gets down and dirty in this video as he digs into the dash of a 1999 Chevy Tahoe. He shows you some of the tools that he uses to pull the entire thing off and also gives you a great amount of commentary as he goes along.
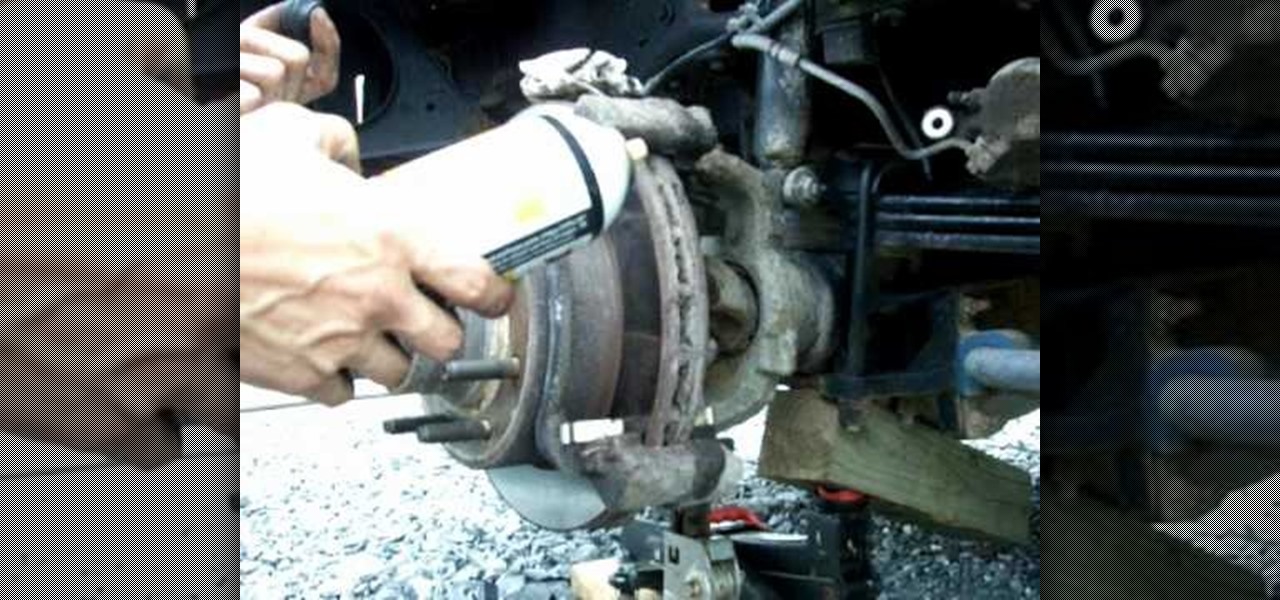
How To: Lubricate the caliper pins or replace the brake pads on a Ford F-250 truck
Full-size pickups are more difficult than cars when or smaller trucks when it comes to repairs. Even something as simple as replacing the brake pads can become daunting. But if you're changing the brake pads on your Ford F-250 truck, this video will give you some much needed help.
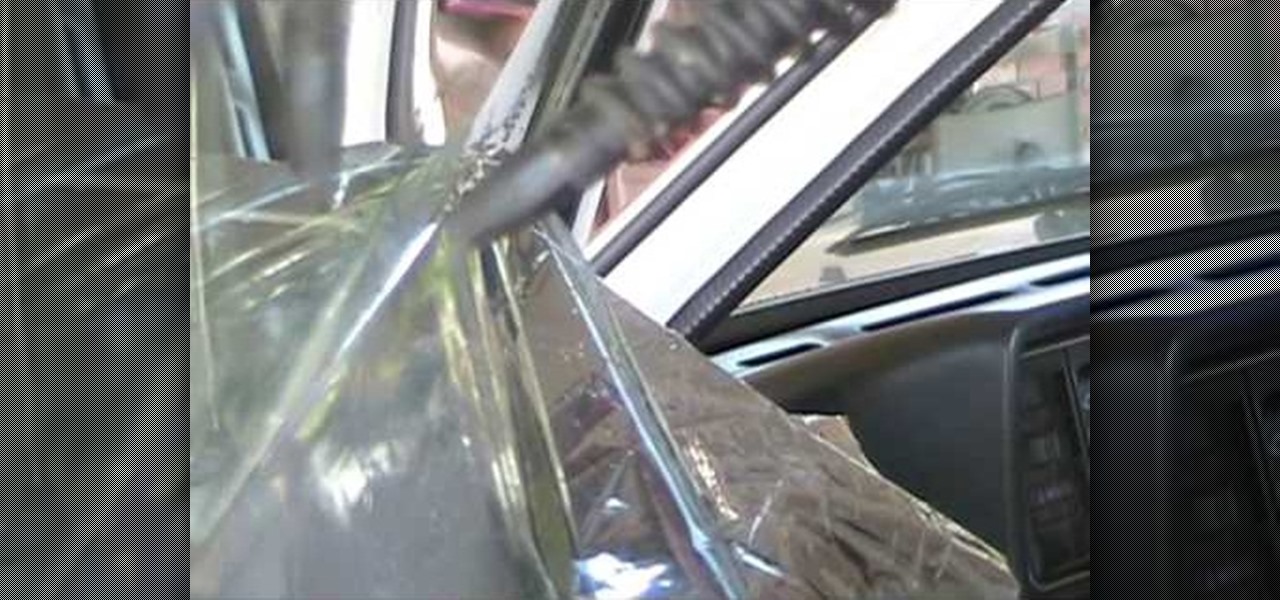
How To: Remove window tint at home
In this video tutorial, viewers learn how to remove old window tint. This task is very easy, simple and fast to do. Users will need a steam cleaner. Begin by peeling off the top part of the tint on the window. As you are peeling down the tint, spray the steam cleaner behind the tint. This will prevent any marks from being left behind. Continue doing this until you have completely removed the tint. This video provides a demonstration for viewers to understand and follow along. This video will ...

How To: Install rotors on a motorcycle
When you need to replace and install the brakes and rotors on a motorcycle, the rotor is one of the easiest things to take off and put on. It's an important piece to the bike and can be taken care of in a matter of hours.

How To: Remove the rotors on a motorcycle
In this next video tutorial, you'll find out how to remove the rotors on a motorcycle. If you need to find out whether or not it's bad using your fingernail is a good way to test it. Switching the rotor is important for ensuring that your bike will last for a long time and that you'll be safe of any kind of injury. It's easy to follow and doesn't require a ton of work. So check out the video, pay attention, and enjoy!

How To: Replace the rotors and brake calipers on a motorcycle
If you need to do a little bit of maintenance work on a motorcycle, this next tutorial will cover rotors and brake calipers. Brake calipers will need to be seperated even before the brakes can be replaced on a bike. In this video, you'll find out how to replace the rotor and brake calipers on your bike. It's an easy thing to do and will do wonders for your motorcycle. So sit back, pay attention, and good luck!

How To: Install mirrors on a motorcycle
Having mirros on your motorcycle is a smart thing to do and can help prevent any serious injury or death. It may seem like an easy thing to do, but it can be tricky for some. In order to do so, you'll need to find a specific area to place them and get the right tools needed to do so. So if interested, sit back, pay attention, and enjoy!
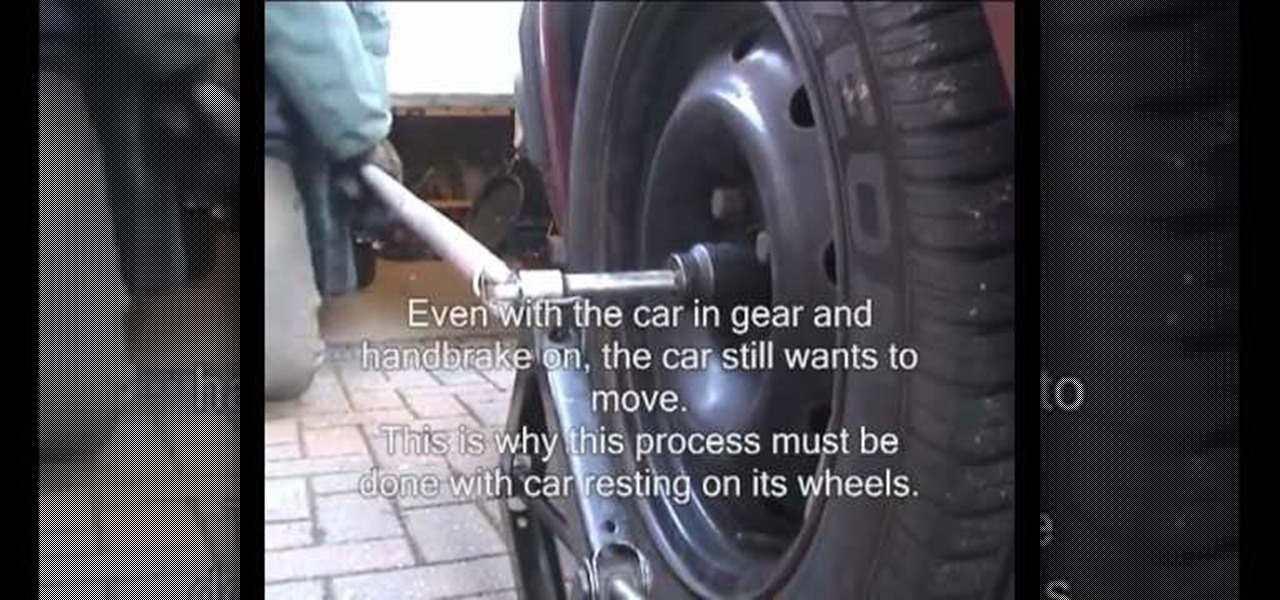
How To: Remove a driveshaft hub nut on a front-wheel drive (FWD) vehicle
Ever found yourself in need of removing the driveshaft hub nut on your front-wheel drive car? It's not quite like removing the lug nuts, because it's much bigger. Well, it can be really easy to remove the driveshaft hub nut, and this video tutorial will show you the secret.
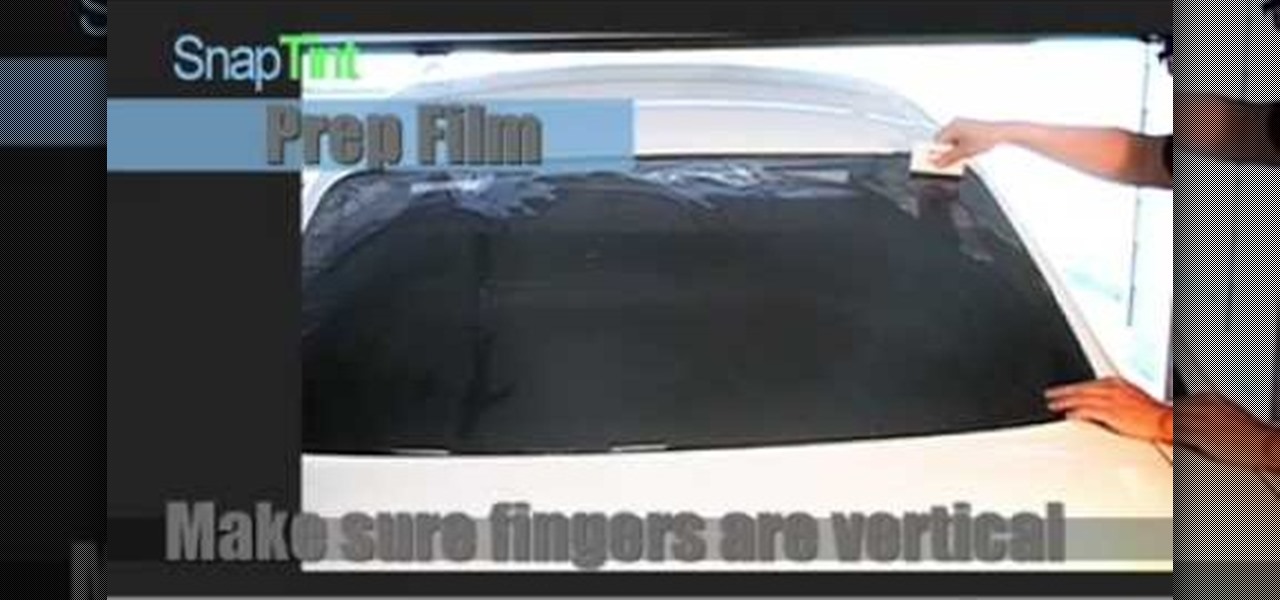
How To: Heat shrink rear window tint
In this video, we learn to heat shrink a rear window tint. First, prep your window using soapy water. Next, rinse with car with a soapy cloth and spread on the lather. After this, let it dry and cut the film around the pattern. Next, create an anchor by dampening in an 'h' shape. Next, lay the window film down with the liner side up. Anchor the film onto the window along the 'h' shape. Make sure your fingers are vertical, then heat the film until the lines react. Then, smooth on with the hand...
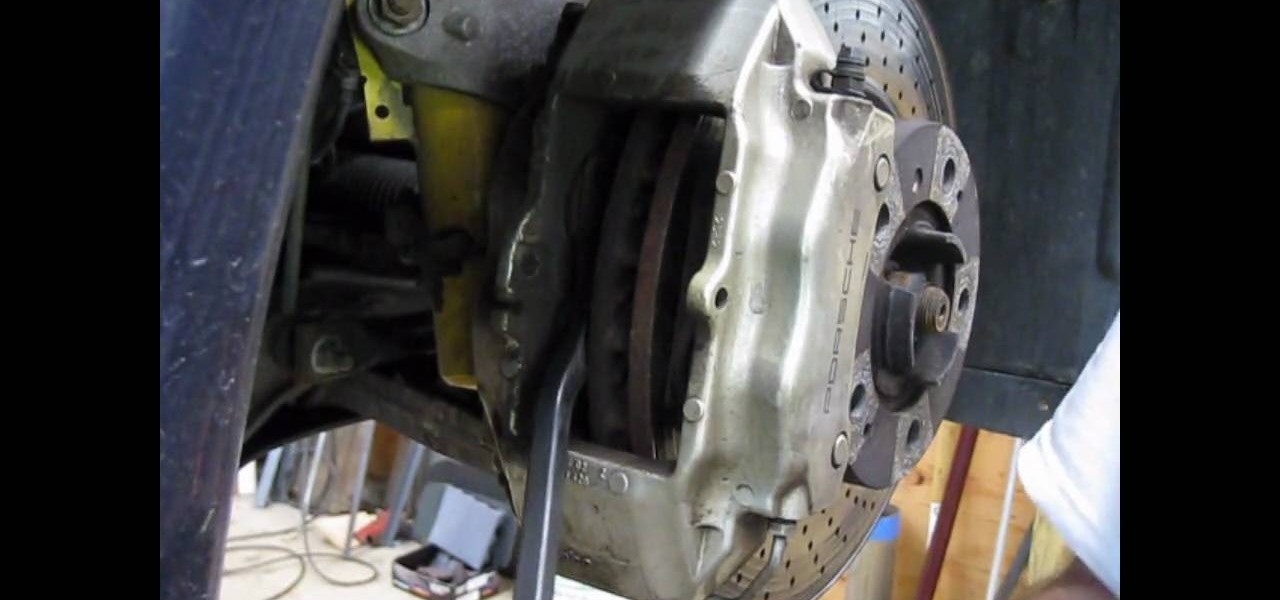
How To: Change the front brakes on a water-cooled Porsche 996
If you own a Porsche and need to get the brakes replaced, don't take it to the mechanic where you can easily be charged into the hundreds. Do it yourself! This video tutorial makes it easy and shows you how to change the front brakes on a Porsche 996. It's very simple and will require a few tools, plus the replacement parts. So good luck, be careful, and enjoy!
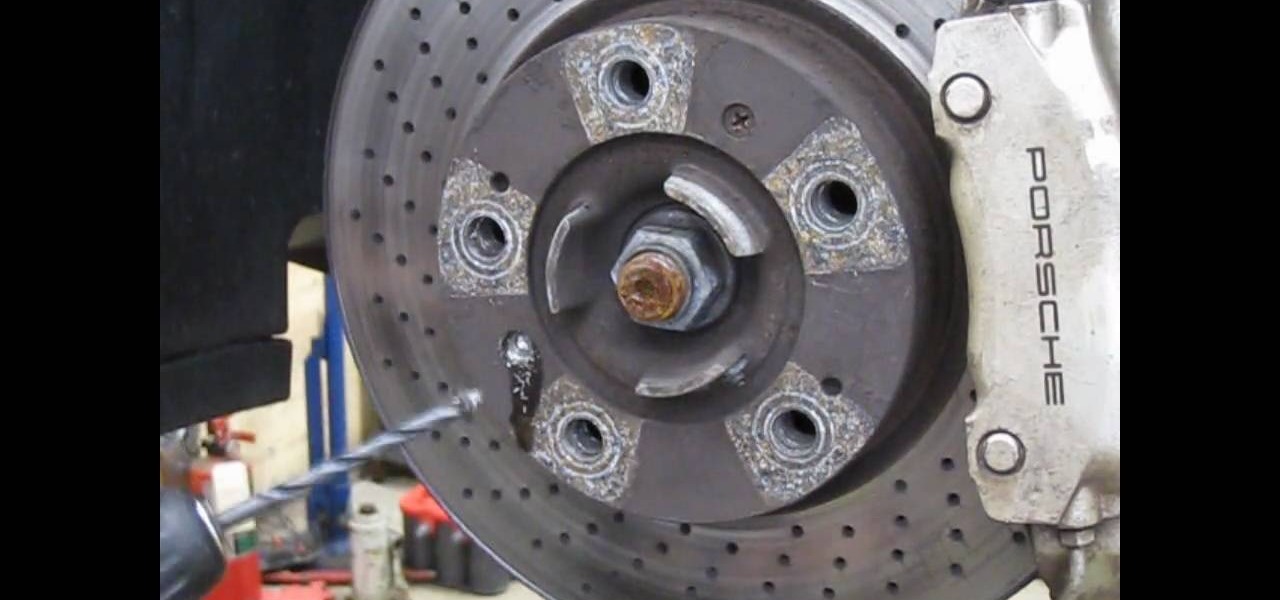
How To: Drill out a stripped brake rotor screw for a Porsche 996
When working on a vehicle, you can come across screws that are stripped or stuck making it very difficult to remove the brake rotors. These need to be removed and replaced sooner than later.
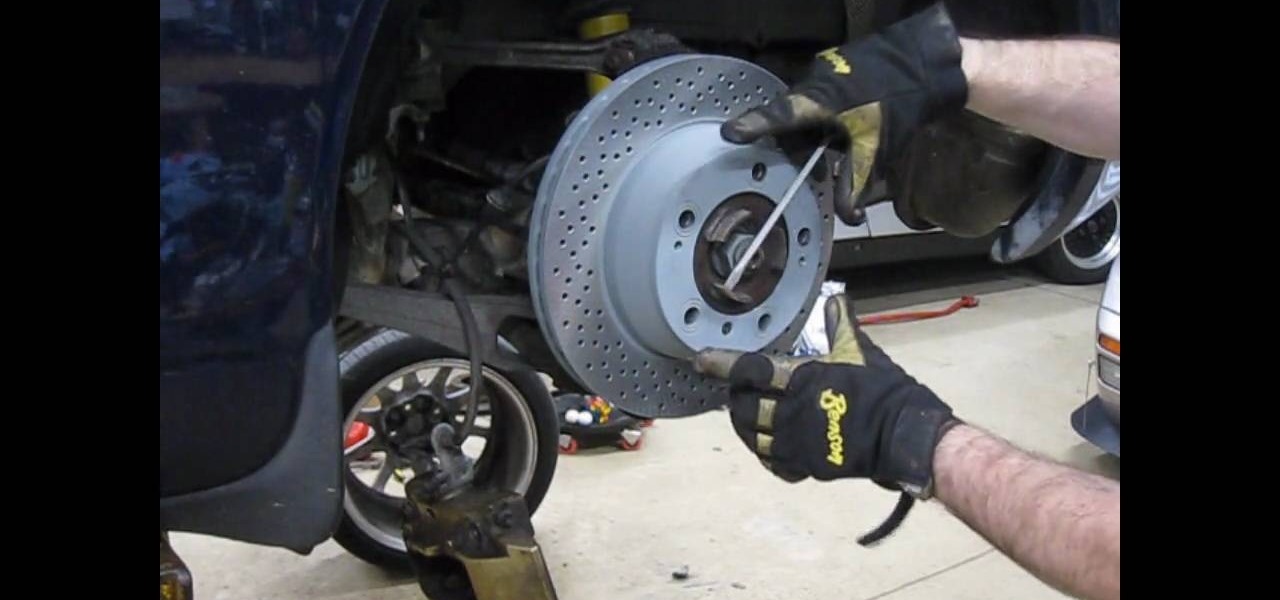
How To: Change the rear brakes on a Porsche 996
One of the most important things about a car are the brakes. They are there to help prevent any kind of accidents by helping decrease the speed of your vehicle. Without them, driving would very dangerous. So knowing how to replace old brakes with new ones is a really smart idea. Not only are you able to understand how you're car is doing, but you can also save a ton of money.

How To: Check your engine health with a PICO scope
In this video, we learn how to check your engine health with a PICO scope. First, you will want to attach your computer to the PICO scope that is connected to your vehicle's "brain". After this, you will run through the different sections of the car to see how each of the different functions are running. Compare the results you are getting to a chart that shows what the healthy charts should look like. As you go through these, record the results you get, then print them out if you need to. Wh...
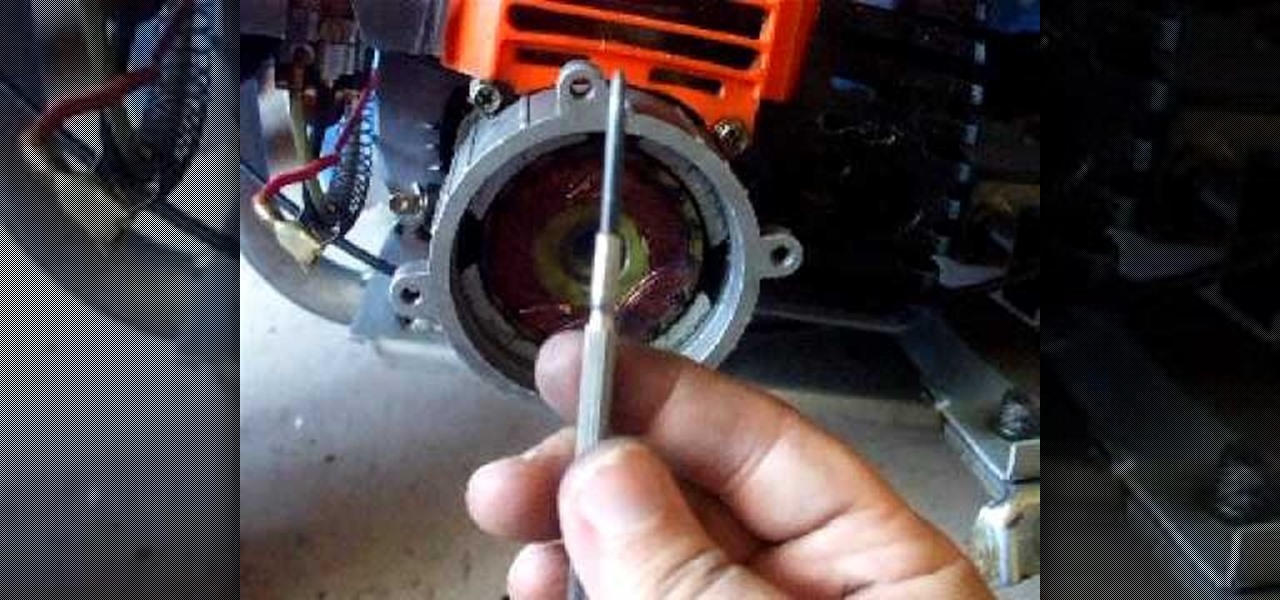
How To: Remove and repair the starter on a pocket bike
If you own a pocket bike and have no idea how to locate, let alone remove and repair a starter, this video might help. The starter is another essential part that any vehicle needs in order to actually work.
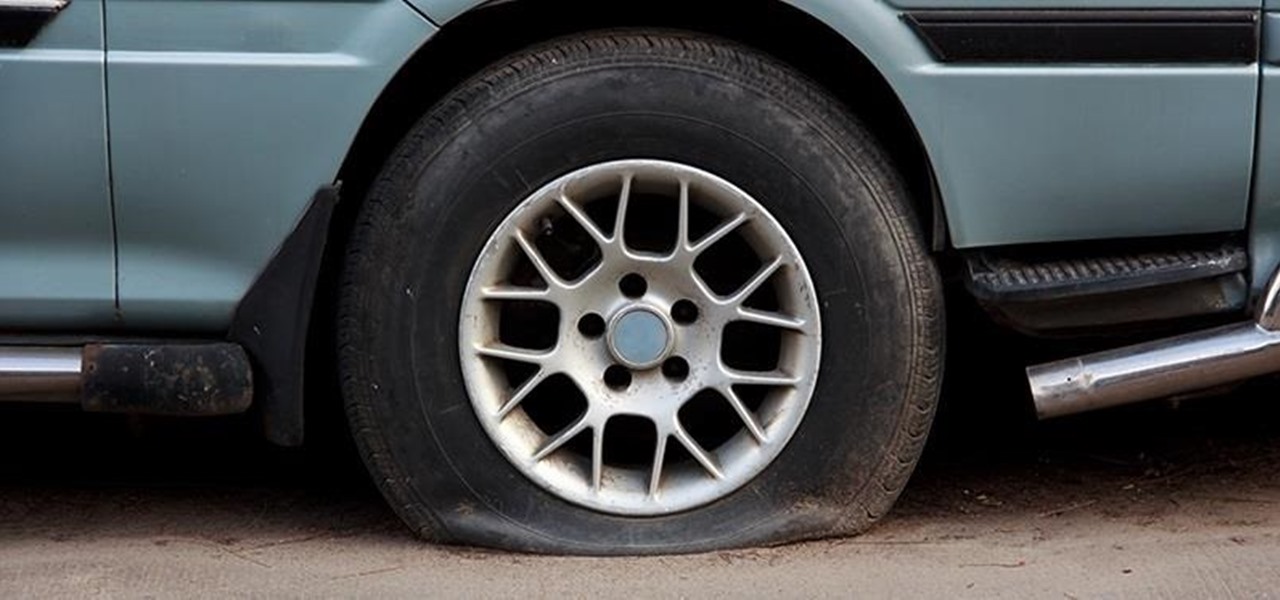
Change a Roadside Flat Tire: The Definitive Guide
Someday, maybe not today, maybe not tomorrow, but someday, you'll find yourself on the road in your car, maybe on the highway, and you'll hear something.
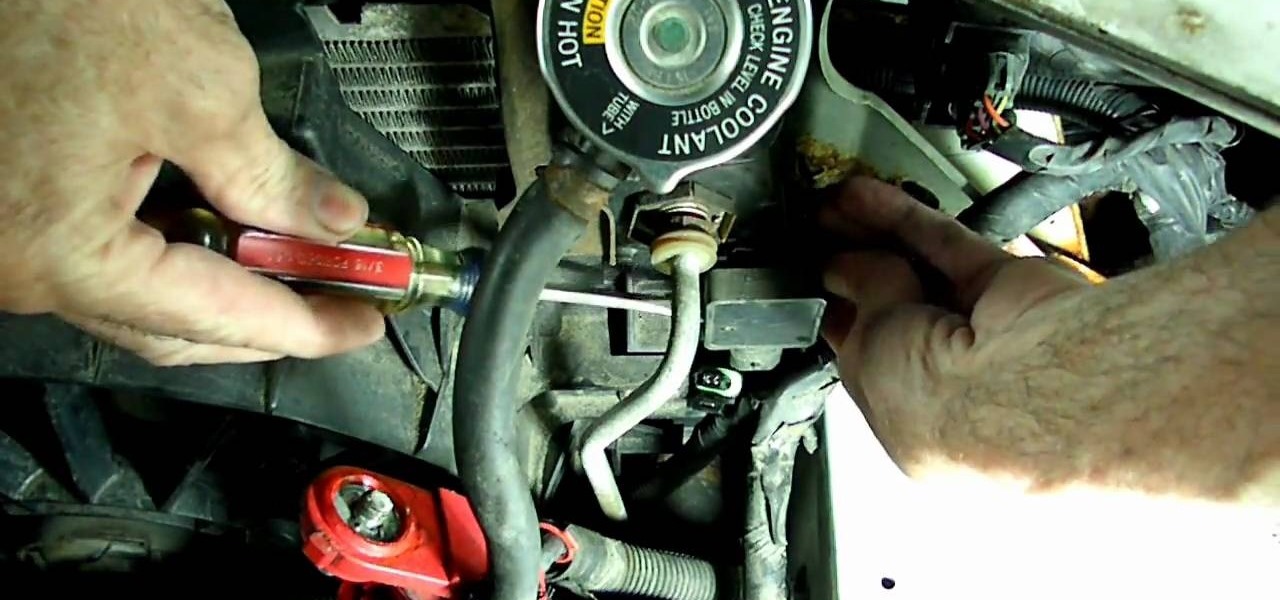
How To: Replace a coolant level sensor on a Chevy Impala
If you've ever had a check engine light or check oil light stick around, even after you've completed any maintenance, then you might have a problem with a sensor. It can become damaged and will need to be replaced, especially if you want to get rid of any annoying lights.
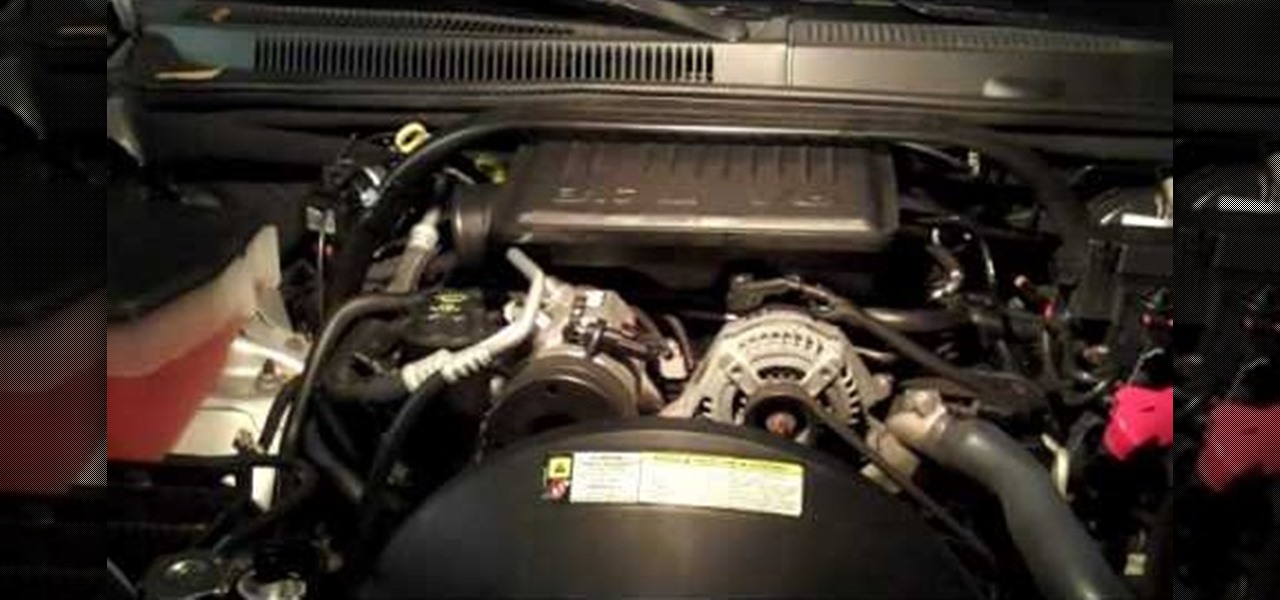
How To: Replace spark plugs in a 2005 Jeep Grand Cherokee
In this tutorial, we learn how to replace spark plugs in a 2005 Jeep Grand Cherokee. First, prop your hood up and leave it open. Next, remove the hoses around the spark plugs and use a wrench to remove the casing around the plugs. After this, squeeze the top of the connector and unplug the wires. Next, remove the spark plugs and replace the new ones back inside. When you are finished, you will need to replace all the items that you removed, making sure to replace everything where it was origi...

How To: Buy the right jumper cables and jump your car
In this video tutorial, viewers learn how to jump start a car. When purchasing a jumper cable, don't purchase the cheapest set. It is also not necessary to purchase the most expensive. Begin by connecting the black cable on the negative terminal of the healthy car. Then connect the positive side of the red cable to the positive terminal of the healthy car. On the dead car, connect end of the cable to the positive side of the battery again, except this time you connect the negative end to a so...

How To: Install a hood strut kit on a Mustang
In this video, we learn how to install a hood strut kit on a Mustang. Start by opening up the hood and removing the sound tube locator. After this, cut 1/2" from the middle to make space on it for the bolt. Reapply this, then bolt it back into place. Next, install the body bracket with a socket and remove all bolts around the spot its in. After you install the bracket replace the bolts and do both of these steps again on the other side of the car. When you are done, make sure all parts are re...

How To: Perform a butt weld
In this tutorial, we learn how to perform a butt weld. First, read the settings for your welding machine and make sure you have everything set up in order. Now, place protective gear onto your body and start to perform your weld. Use caution and make several holes into the metal. You can do this on a small piece or try a larger one once you are comfortable enough. Make sure you are using the push and pull method while welding, pushing into the metal and then pulling back out. When you are fin...
How To: Do an auto damage appraisal
In this tutorial, we learn how to do an auto damage appraisal. First make sure you have all your paperwork ready and lined up before you go to inspect the vehicle. When you have this done, the clients will be happier that you have everything ready to go and the claim is getting taken care of quicker. After you inspect the vehicle, write down all the notes about the vehicle and then calculate what the amount of damage is. Then, give a copy of the appraisal to the owner. After this, submit your...
How To: Install anti-sway bars on a 2008 Ford Mustang GT
In this tutorial, we learn how to install anti-sway bars on a 2008 Ford Mustang GT. First, take off the bolt off the end link, then use a socket to remove the nuts off the sway bar. After this, remove the sway bar and set aside. Now, insert your new sway bar, making sure you line it up properly. Then, place the bushings in with it and apply all the bolts in place to keep it secure. After you are done with this, replace all the parts that you took out of the car in the first place. When you ar...
How To: Install a car alarm on a Viper 5900
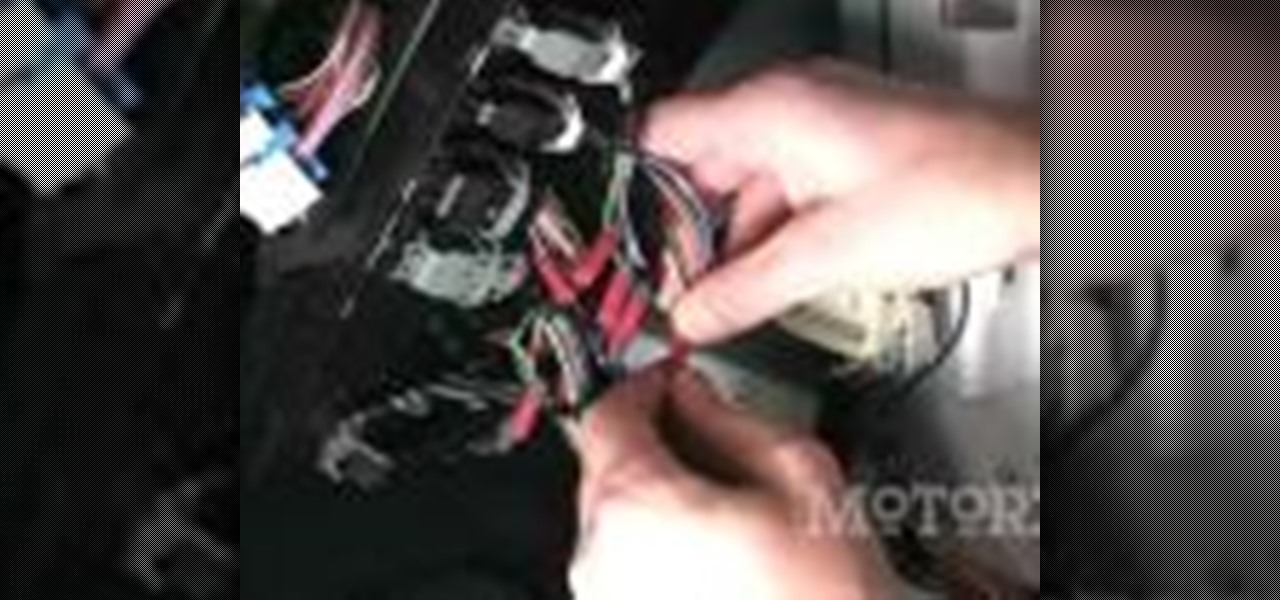
In this tutorial, we learn how to install a car alarm on a Viper 5900. First, read your manual and figure out which wires go where, then label them so you don't confuse them. Next, grab all the tools you will need and have them prepared and ready. After this, find the electrical box on the car and remove all the wires that are inside of it. Now, you will take out the wires that go onto the current alarm system. Replace with the new alarm system and apply the wires where they belong. You may n...
How To: Replace a power lock on a Ford Excursion
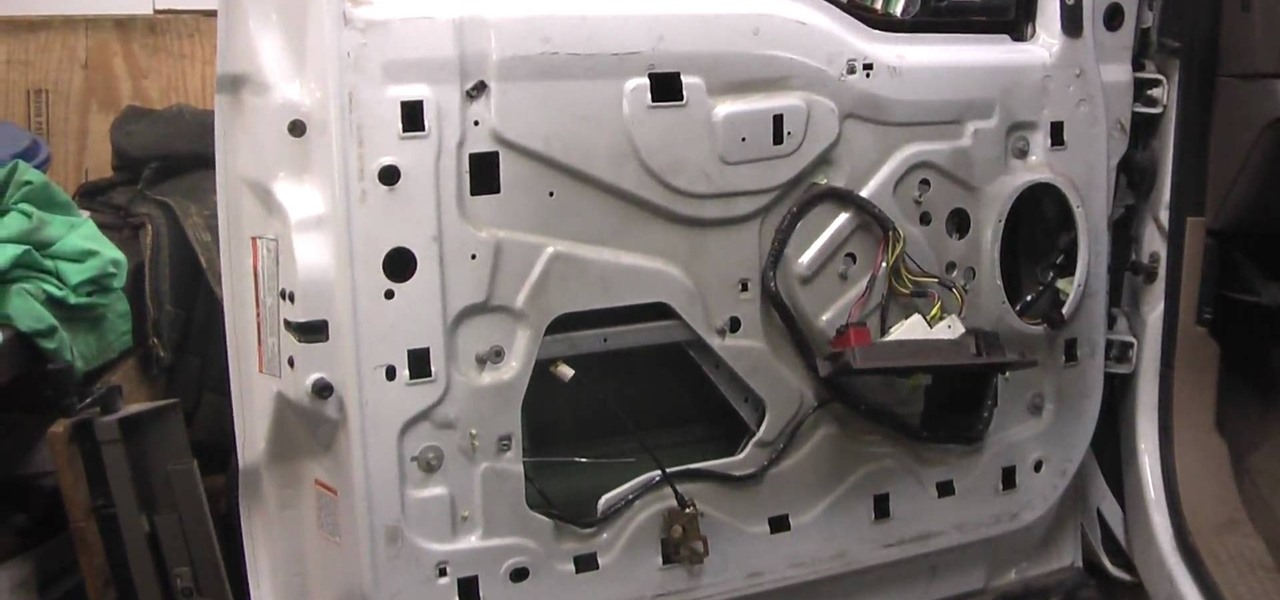
This video tutorial belongs to the Autos, Motorcycles & Planes category which is going to show you how to replace a power lock on a Ford Excursion. This activity is neither easy nor cheap. But, you will save a lot of money if you do it yourself. Before starting you got to remove the side paneling, speakers, outside door handle and insulation. Then you remove the door lock system. Remove the cable connectors and replace the solenoid unit. Now you can check that the power lock is working and th...

How To: Weld an oil pan
In this video, we learn how to weld an oil pan. Make sure you are wearing protective gear on your face before you do this. Take your welder to your oil pan, then start to weld it while you are underneath it or you have the car pushed up all the way. Place a patch for welding over the part of the oil pan that is leaking. After this, use your welder to connect the patch together with the pan. This ill take several minutes to weld together, and when you are done you can let this cool and fill yo...
How To: Diagnose a cooling system overheat in your vehicle
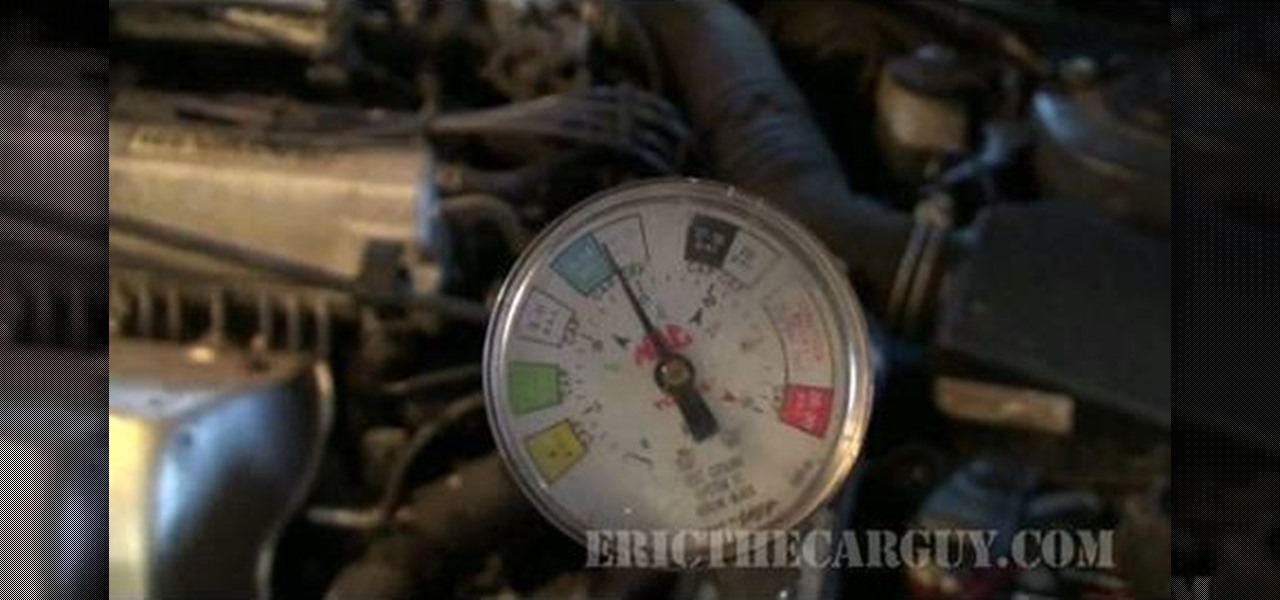
Do you have a car that is overheating? Do you know what to do if you have a car that is overheating? How can you find out the problem for your car overheating?
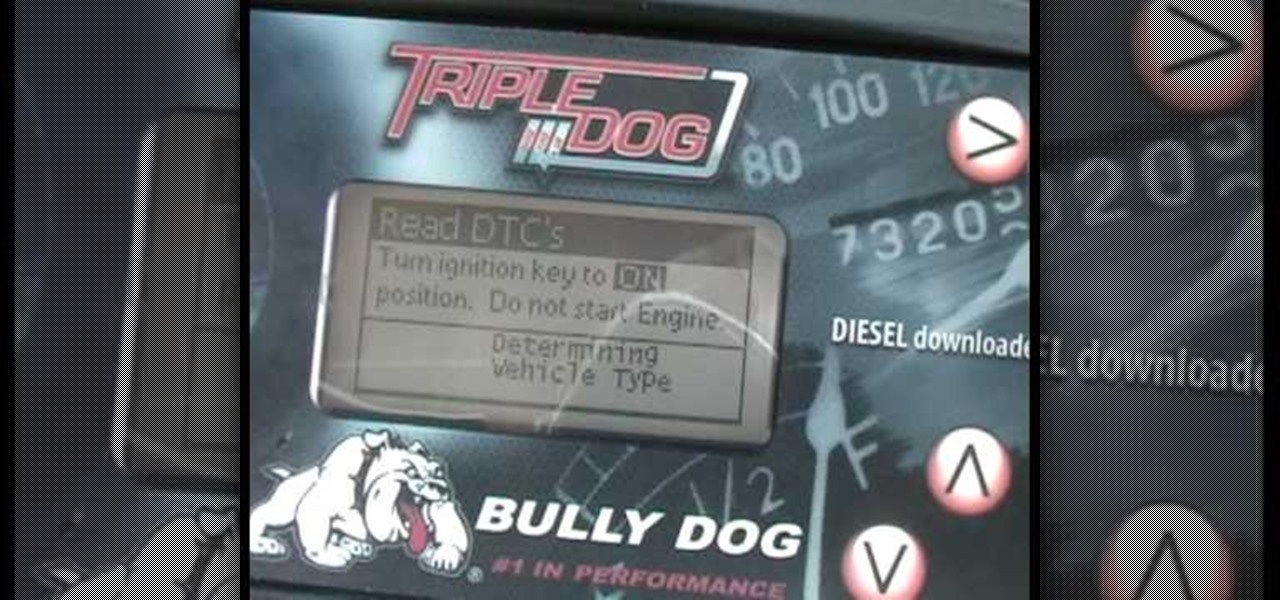
How To: Clear the check engine light on your dashboard
In this tutorial, we learn how to clear the check engine light on your dashboard. This could be caused from an over-boost from the turbo charger that the engine does not recognize. The solution is to grab a tuner device and plug it into the car. Wait for it to power up, then go to the main menu. After this, go to "read dtc's", then find the trouble codes. It will show you what unknown codes are coming up, then you can clear them by pressing the "s" key. Now your light should turn off and you ...
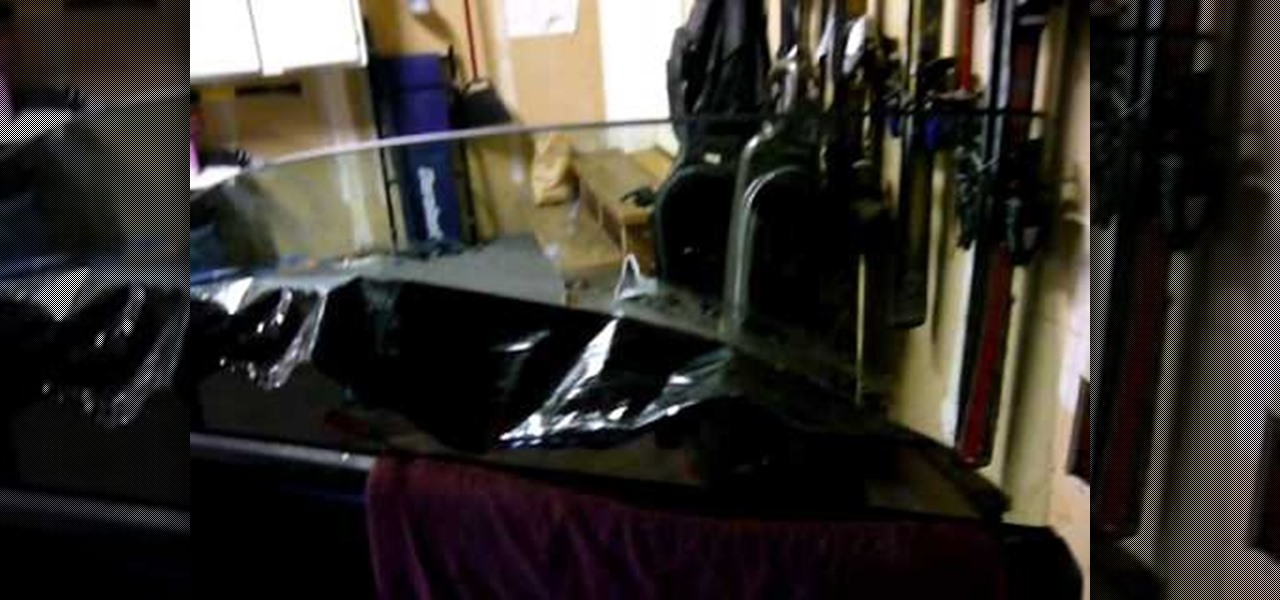
How To: Remove window tint with a steam cleaner
In this tutorial, we learn how to remove window tint using a steam cleaner. First, take your steam cleaner and plug it in so that it's hot. Now, put it into the crack of the window and spray the steam, while gently pulling the window tint down. If you do this slowly enough, you will not have any glue residue left onto your window. The glue is hard to get off, so it's recommended to go very slowly while you are doing this. Each window will take up to 40 minutes, but it will be worth it. When f...
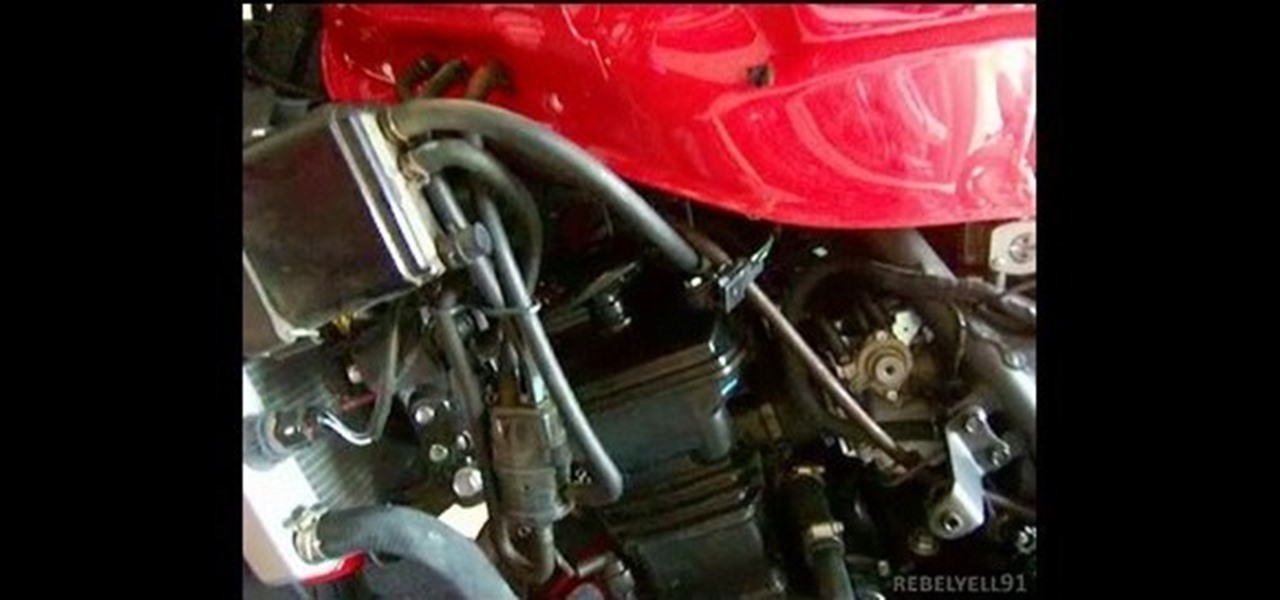
How To: Replace the spark plugs on a 2008 Kawasaki Ninja 250
In this tutorial, we learn how to replace the spark plugs on a 2008 Kawasaki Ninja 250. First look underneath your bike to find out exactly where the spark plugs are at. Next, use wrenches and ratchets to loosen the parts around the spark plugs, then remove the spark plugs completely. After you have pulled them out, replace them with the new one and secure them into place. When finished, replace all the casing around the plugs and make sure you secure them tightly. Add on all bolts when you a...

How To: Recharge a car battery
In this tutorial, we learn how to recharge a car battery. To restart a car battery that is dead, you will need to have another vehicle parked in front of it with the hood facing towards it. Now, you will need to take jumper cables out and place them on the battery of each cars. Make sure both vehicles are turned off while you are placing these on. After this, start both cars and the battery of the other car should start after this! If the car doesn't start, make sure you have the cables clamp...
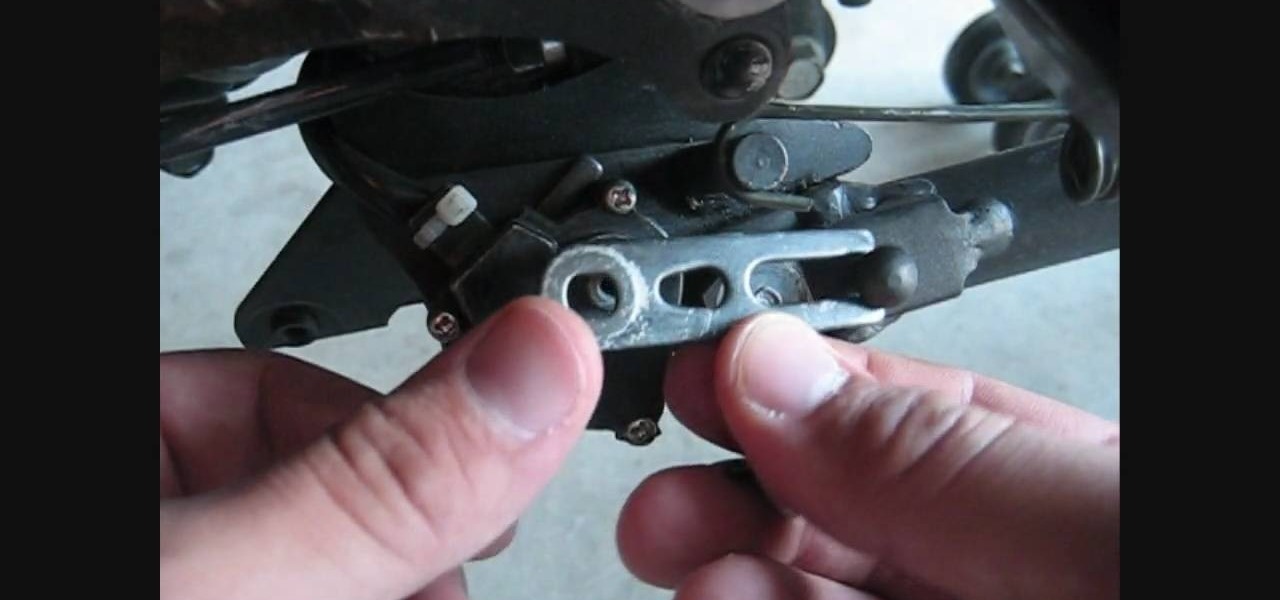
How To: Replace the kickstand safety switch on a Ninja 250R
In this tutorial, we learn how to replace the kickstand safety switch on a Ninja 250R. When this is broken, it will turn your engine off when you put it into gear and cause your motorcycle to not run properly. First, remove the screw from around the safety switch until you can remove the switch from the bike. After this, replace a new switch onto the bike. Next, replace the bolts and screws back on the switch where they originally where. Use clamps or a screwdriver to help replace the screws....
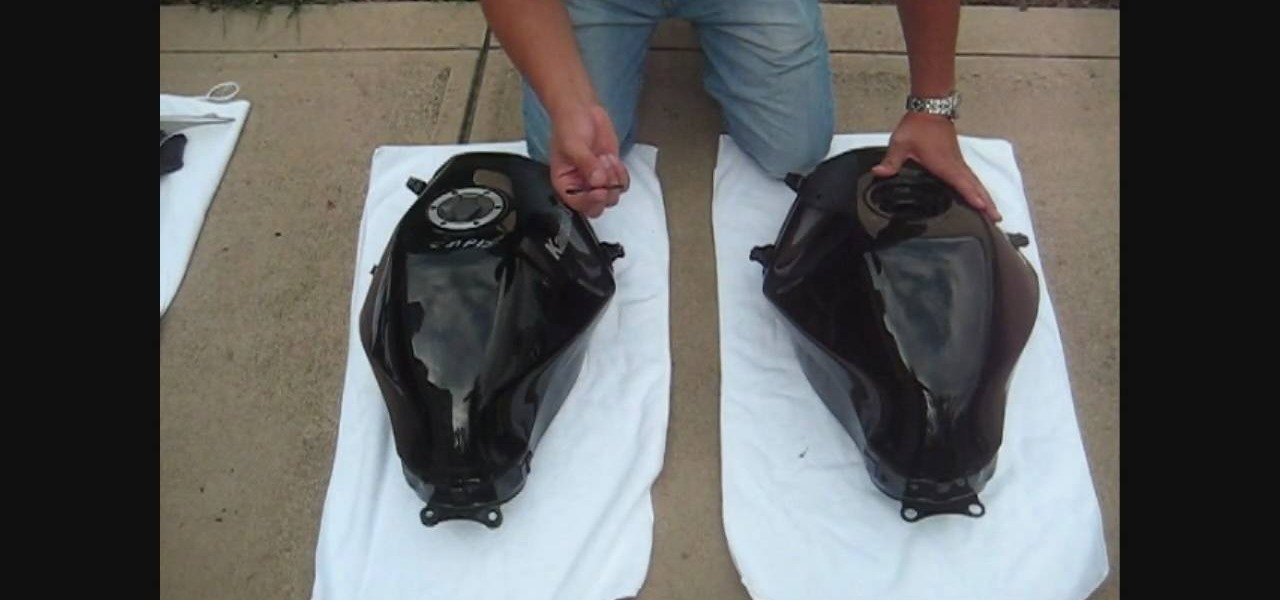
How To: Replace the gas tank on a Ninja 250R motorcycle
In this tutorial, we learn how to replace the gas tank on a Ninja 250R motorcycle. First, inspect all the parts to make sure they don't have any cracks in them and everything is complete. After this, remove the gas tank off your bike and transfer the gas cap from the old to the new. Now, turn the gas tank over on the other side so you see the bottom. There will be a circular cap that you need to remove, followed by four 8mm bolts. After you loosen these up, switch out this part onto the new g...

How To: Change your air filter on a 2008 Ninja motorcycle
In this tutorial, we learn how to change your air filter on a 2008 Ninja motorcycle. You will need: a number 5 Allen wrench, a screwdriver, and a new air filter. First, take the side cover off your bike with your screwdriver. After you remove this, set it down to the side as well as everything else that comes with it. Now, remove the air cover from the filter and set the screws to the side. Next, find your air filter and remove it from it's space. After this, replace the old filter with the b...
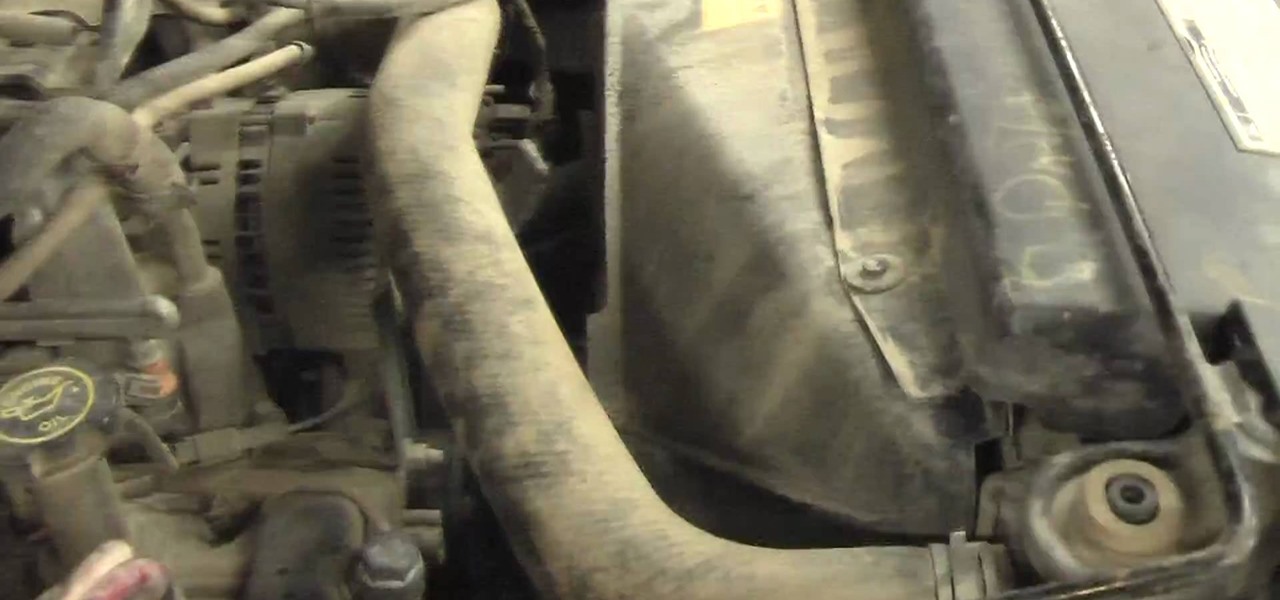
How To: Replace the top coolant radiator hose in a Ford F-150
In this tutorial, we learn how to replace the top coolant radiator hose in a Ford F-150. If you notice that your hose is leaking and fluid, this is a sign you need to replace the hose! First, remove the coolant from the car so you can remove your hose. After you are sure you have removed all the coolant, you will then want to perform a back flush on the vehicle and flush the radiator. When you are finished with this, you will need to replace the hose and then replace all the fluids back in yo...
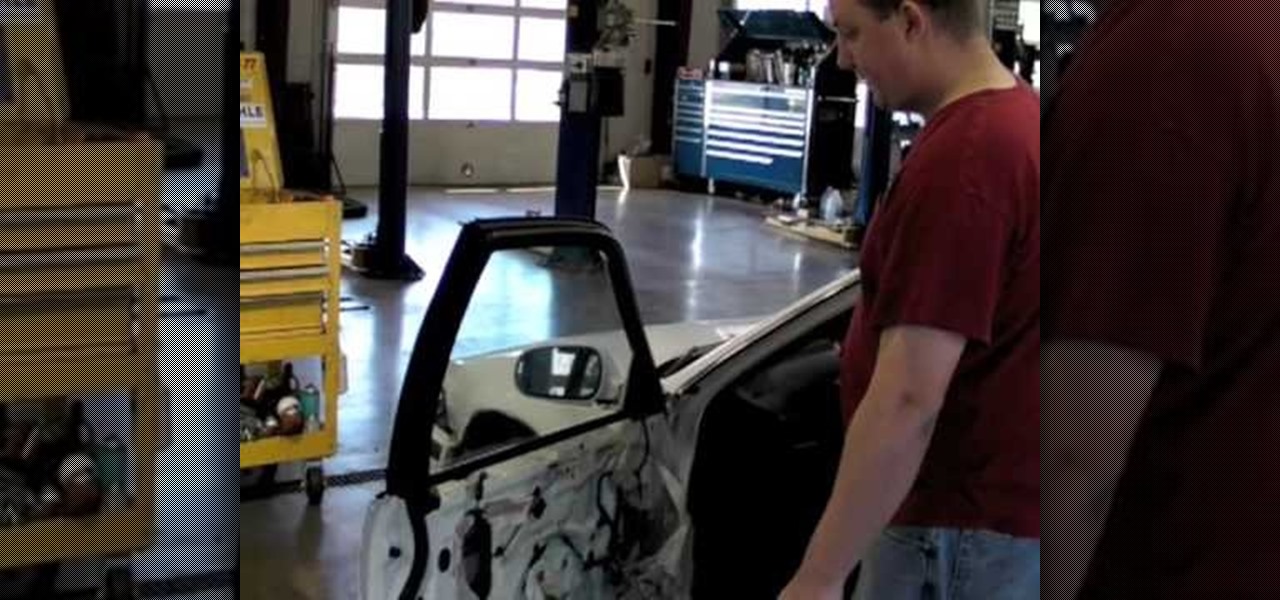
How To: Fix a broken power window
In order to fix a broken power window, you will need the following: a screw driver, a socket wrench, a plastic pry tool, and a Phillips head screw driver.
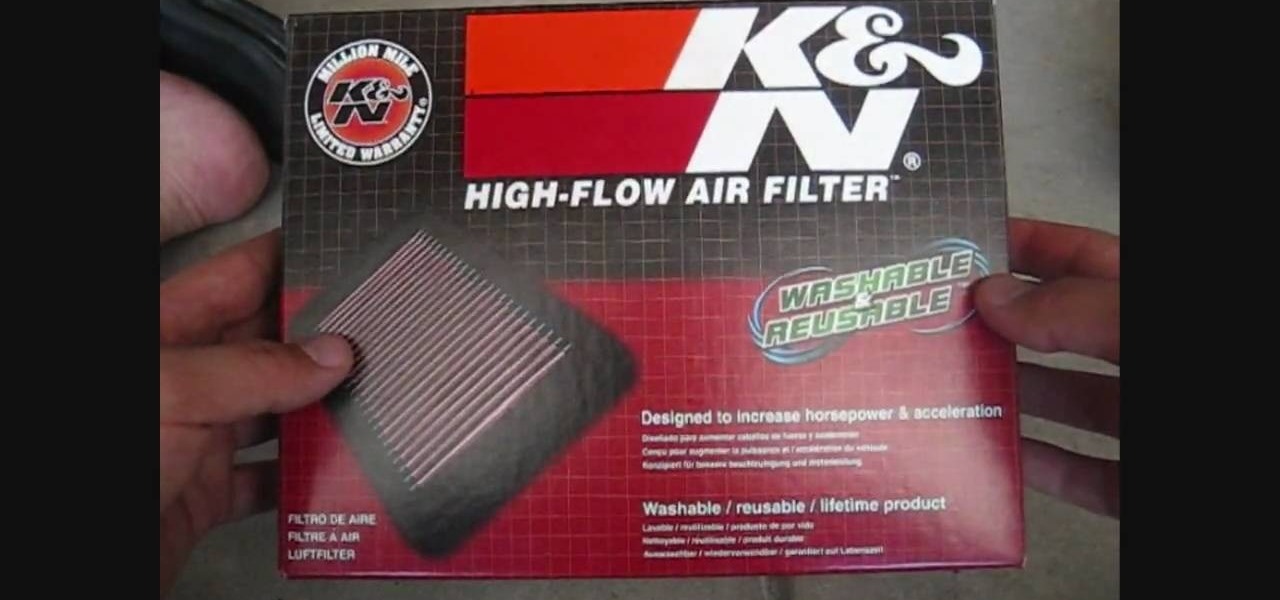
How To: Replace the stock air filter on a Ninja motorcycle
In this tutorial, we learn how to replace the stock air filter on a Ninja motorcycle. Start off by opening up the air box using an Allen wrench. After this, take the bolts out of this and set the air box cover down. Now, remove the air filter to see how dirty it is. If the air filter is full of residue, then you need to change it! Now, clean the inside of the air filter area with a wash cloth . After this, replace your new air filter back into the right spot. Next, apply the filter cover back...
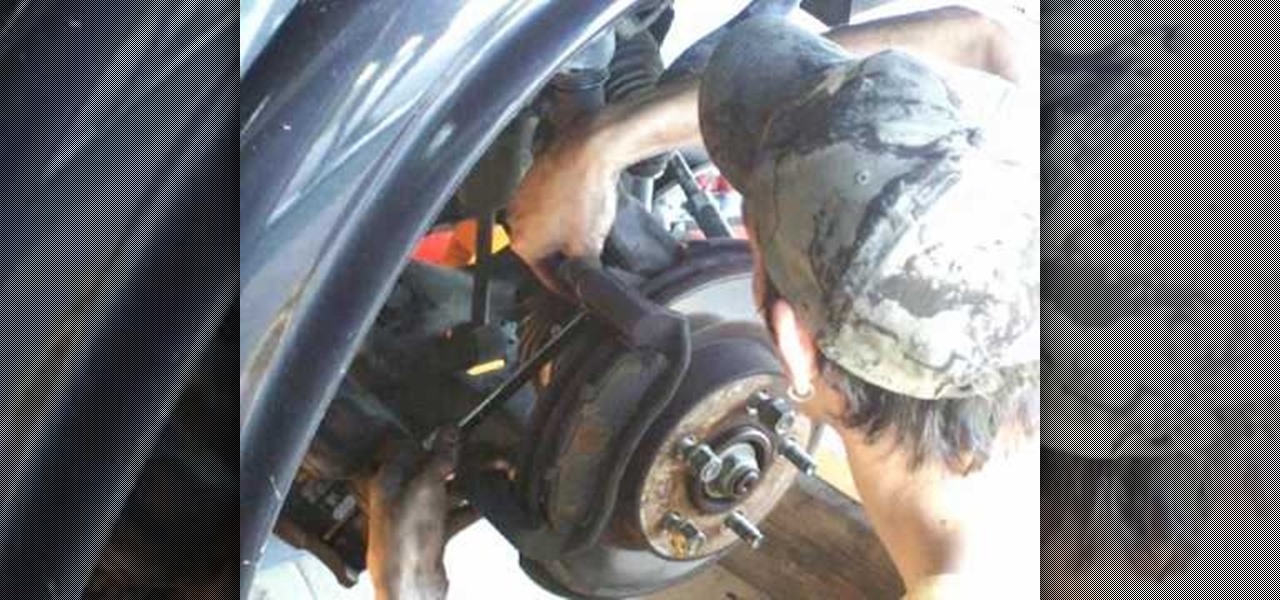
How To: Replace the ball joints to a 99 Ford Explorer
In this next tutorial, you'll find out what tools you'll need to replace the ball joints on a 1999 Ford Explorer. It's a pretty easy to follow, especially if you know anything about cars, so good luck and enjoy!


